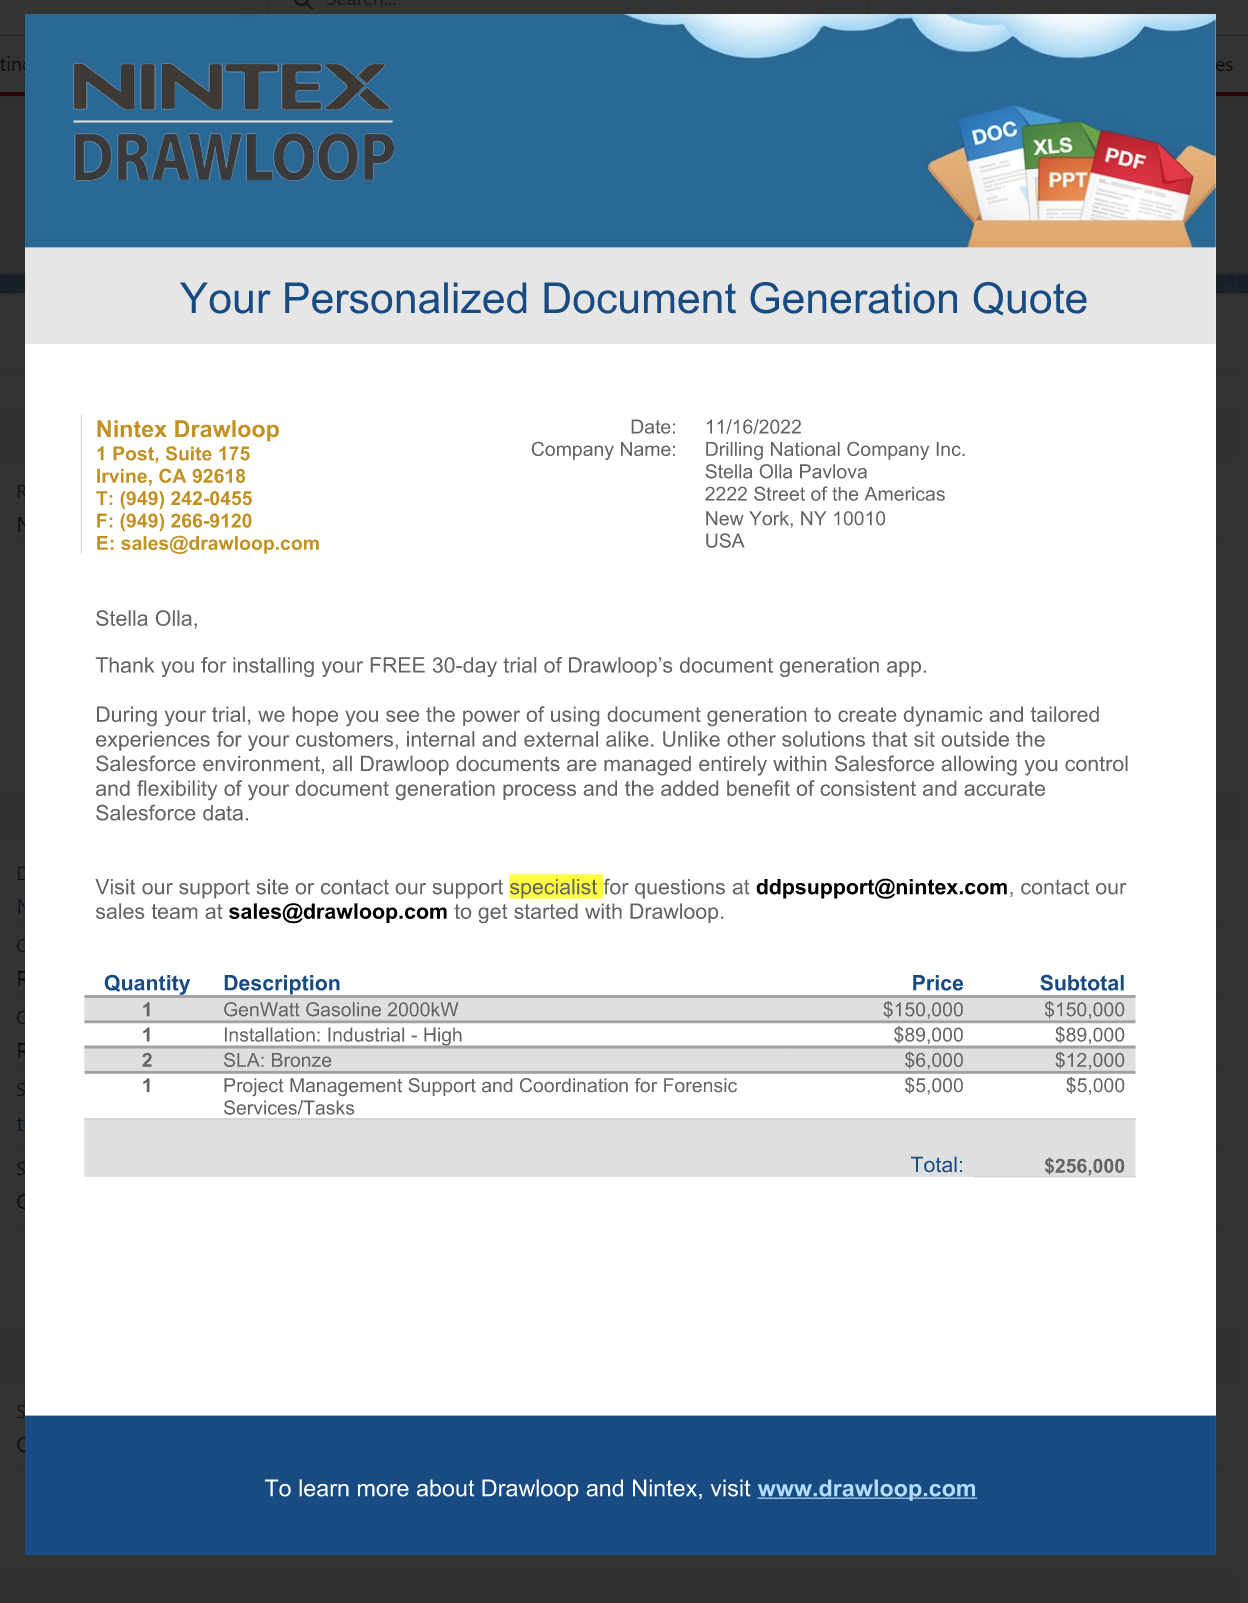
This task demonstrates a client negotiation scenario where the document is declined with redlining, showcasing RLM’s change tracking capabilities.
- Viewing Previous Redlining Instances:
- All redlining instances for a specific object (e.g., Opportunity) can be viewed by clicking on the “Instances” tab within the Redlining Manager.
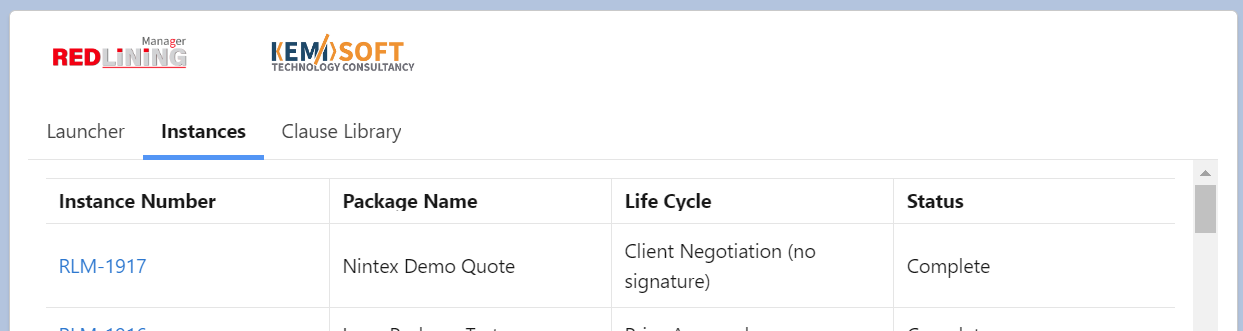
- This view displays the instance, package, lifecycle, and status for all instances associated with that Opportunity.
- Starting a New RLM Instance:
- Repeat the steps outlined in Task 2 to generate and send a new document to the client.
- Client Review and Redlining:
- Receive Email: As the client, receive the email containing the document.
- Download File: Download the document for review.
- Redline Static Text: Make redline changes to static text within the document. Crucially, do not alter Salesforce fields (e.g., contact’s name, account, or product information) at this stage; this will be demonstrated in a later task.
- Example: A simple change might involve altering the word “team” to “specialist.”

- Respond with Rejected: Attach the redlined document to the email and send it back with a “Rejected” response.

- Timeline Checkpoint and Change Analysis:
- The timeline will reflect the “Declined by Client” status.
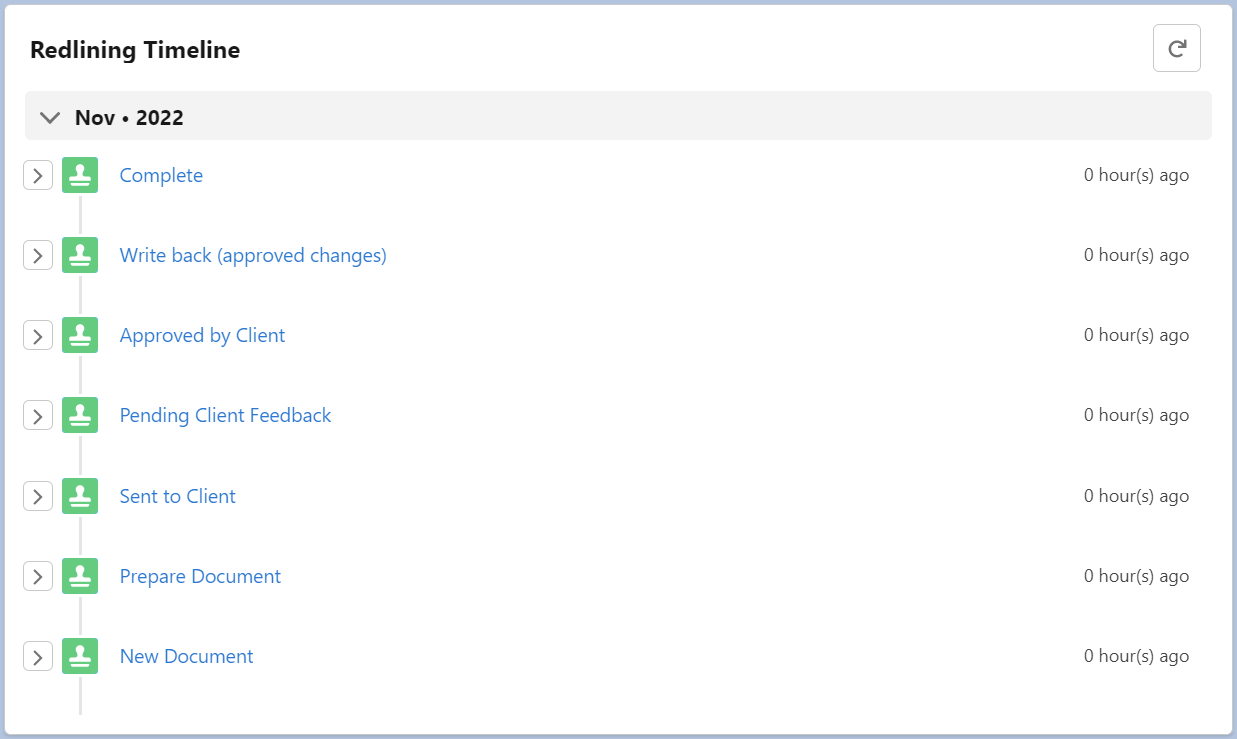
- The attached document will be analyzed for changes (“Analyze Client’s feedback”).
- Document Storage: The received attachment is added to the “Notes & Attachments” section.

- Audit Trail: All changes are meticulously recorded in the audit trail.
- Document Versions: Two additional documents are added: the one received from the client and a verified version after analysis.

- Change Capture: Each change in the document is captured and recorded in detail, including the section where the change occurred.
- Routing: Changes detected in specific sections (e.g., “Legal”) will be routed to the designated contact in the corresponding routing rule. Changes in unmapped sections will be sent to the “Default” routing rule.
- Internal Review:
- Receive Approval Email: As the internal reviewer, receive the approval email.
- Download Document: Download the document for review.
- Respond Approved: Respond with “Approved.”

- Email Subject: Note that the email subject will indicate the routing rule name (e.g., “Legal,” “Default,” “Sales”).
- Timeline Update: The timeline will update to show “Approved by Internal Review.”
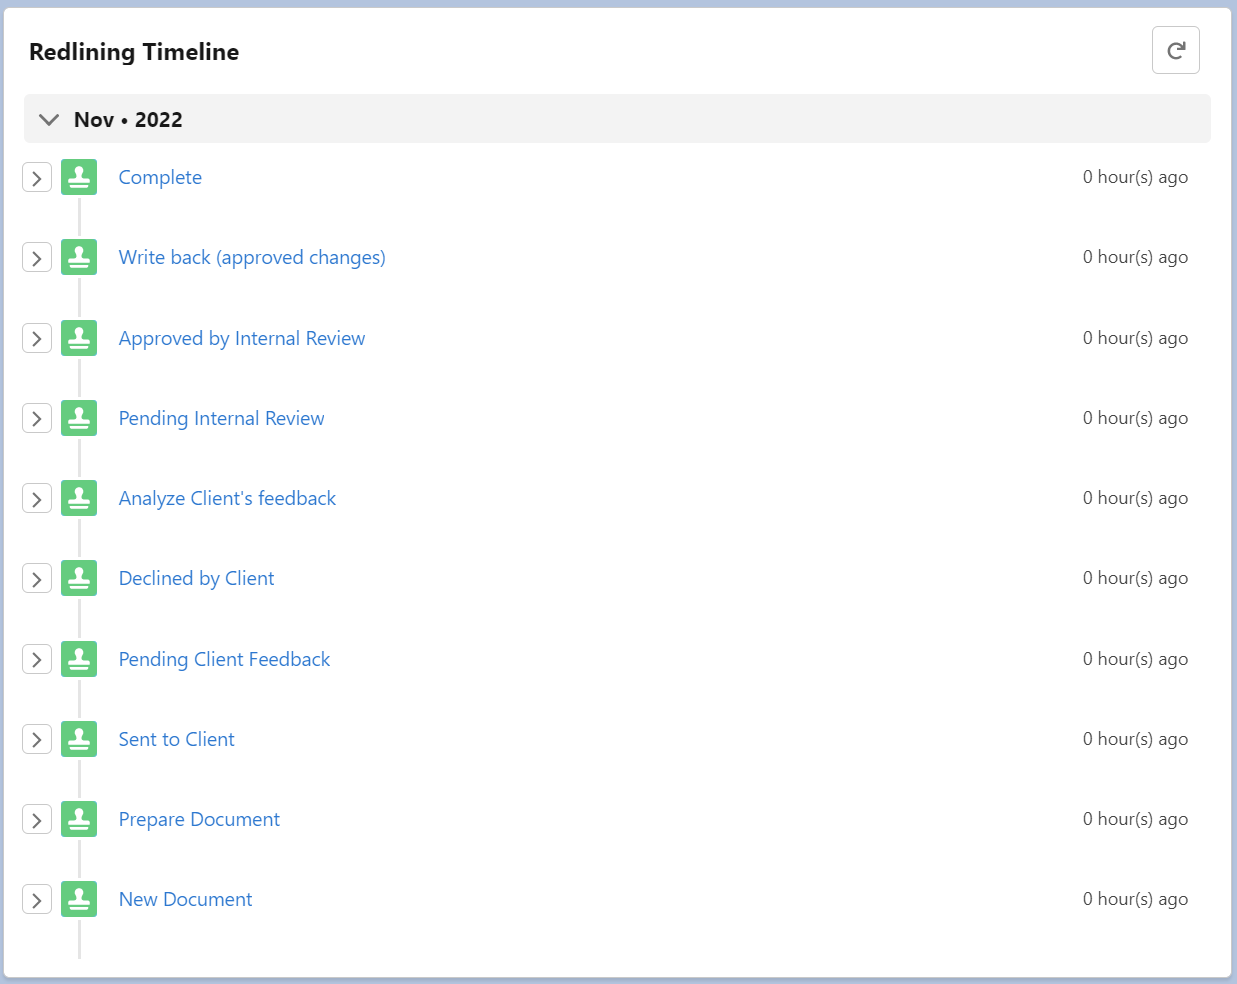
- Audit Trail Update: The audit trail will also be updated to reflect the approval from the internal reviewer (e.g., Legal).
- Notes & Attachments Update: The “Notes & Attachments” section will be updated with a document containing the changes (filename appended with “audit trail”) and the final document renamed to include the version (e.g., “V1”).