
This section details the foundational steps required to install the RLM App within your Salesforce organization and prepare it for operational use.
RLM App Installation: #
- Initiate the installation process. You will be prompted to log in to the Salesforce organization where you intend to deploy the RLM App.
- https://appexchange.salesforce.com/appxListingDetail?listingId=a0N4V00000G6frhUAB

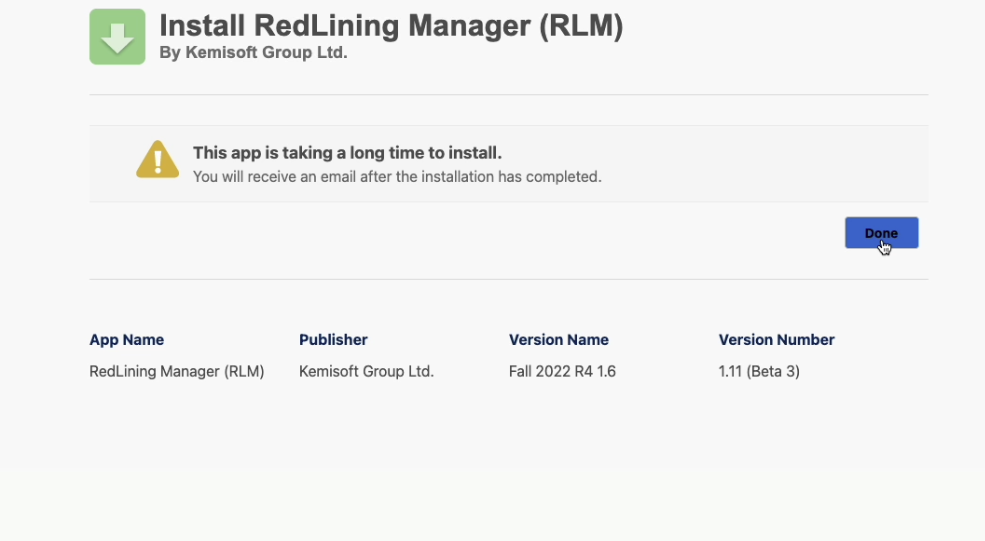
- Installation Monitoring: Should the installation process extend beyond the expected duration, an alert will be displayed. Please monitor this closely.
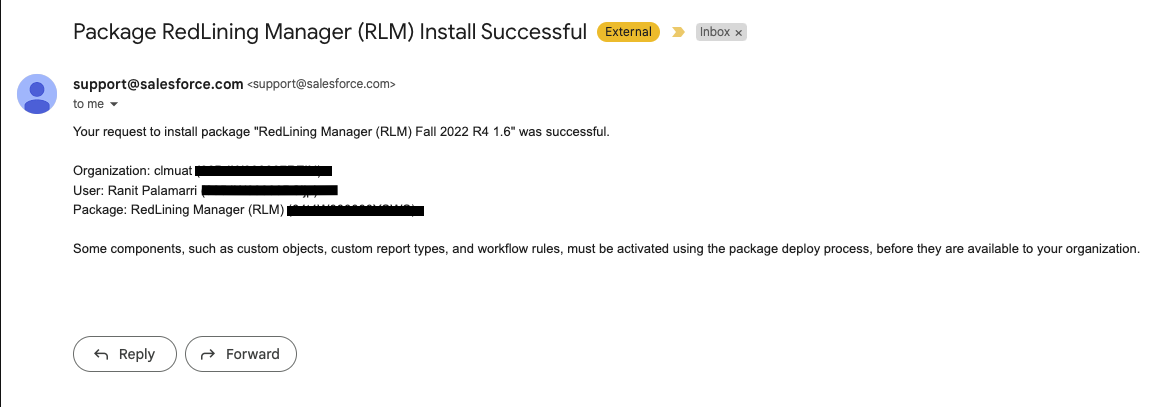
- Confirmation: Upon successful completion of the installation, an email confirmation will be sent to your registered Salesforce email address.
Accessing Redlining Manager: #

- Once the installation is complete, navigate to the Salesforce App Launcher and open the “Redlining Manager” application.
Completing the Setup Process: #
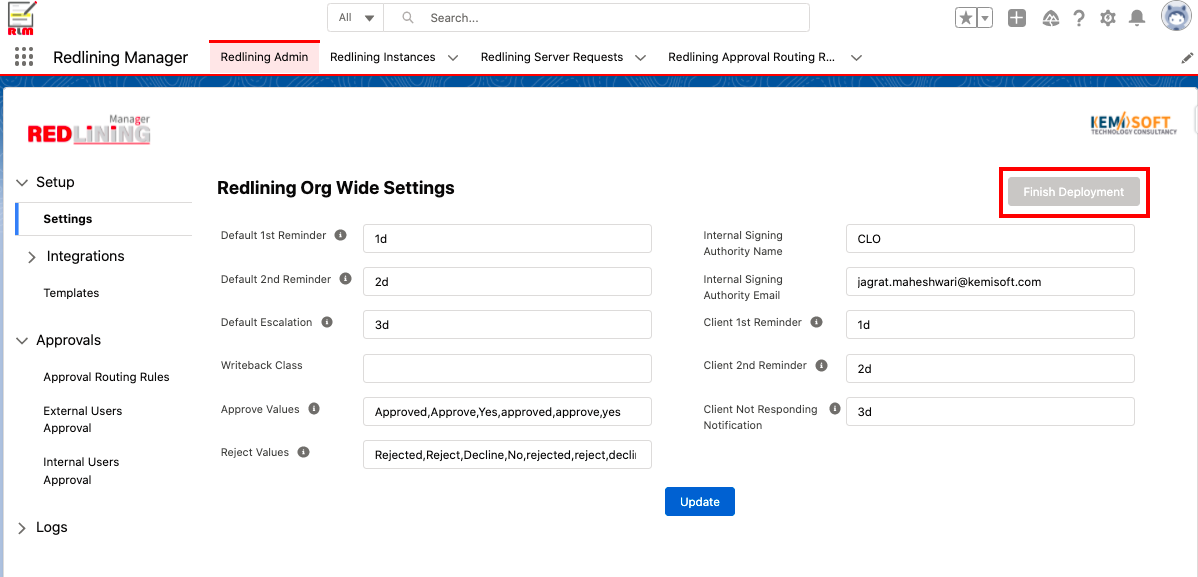
- Follow the on-screen prompts to finalize the RLM setup.
- Verification: The “Finish Setup” button will be grayed out once all necessary configurations are complete, indicating a successful setup.
Priming Existing Drawloop Templates: #
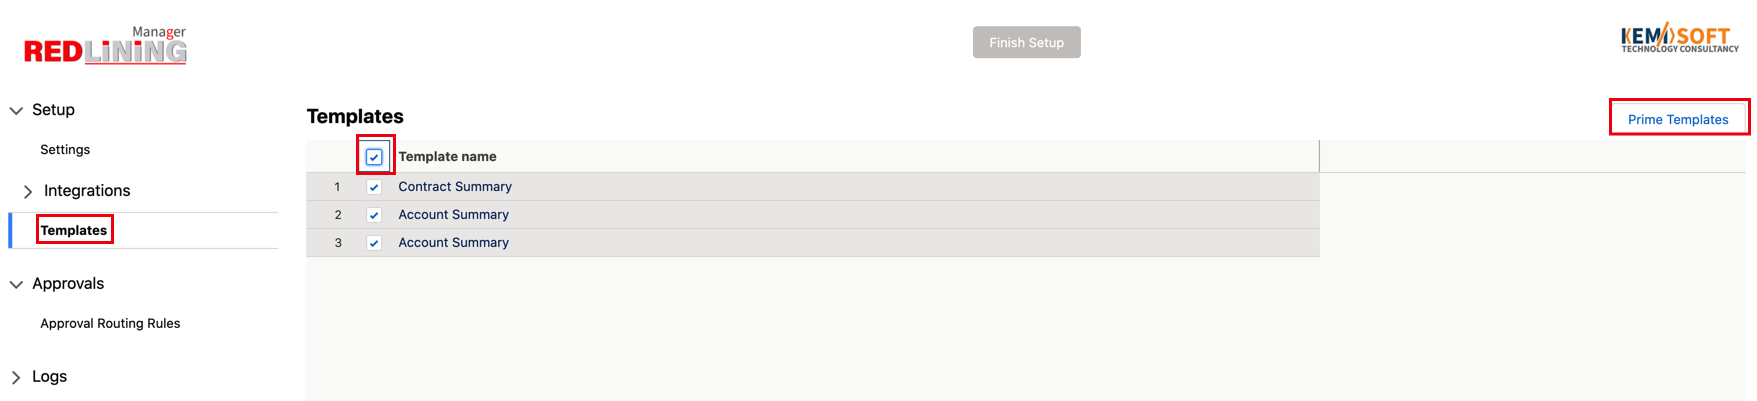
- This critical step ensures that your existing Drawloop templates are compatible with RLM’s redlining tags.
- Requirement: Only prime templates that are in Microsoft Word document format (.docx). This process integrates RLM’s functionality, enabling seamless redlining within your documents.
Confirming Default Routing Rule: #
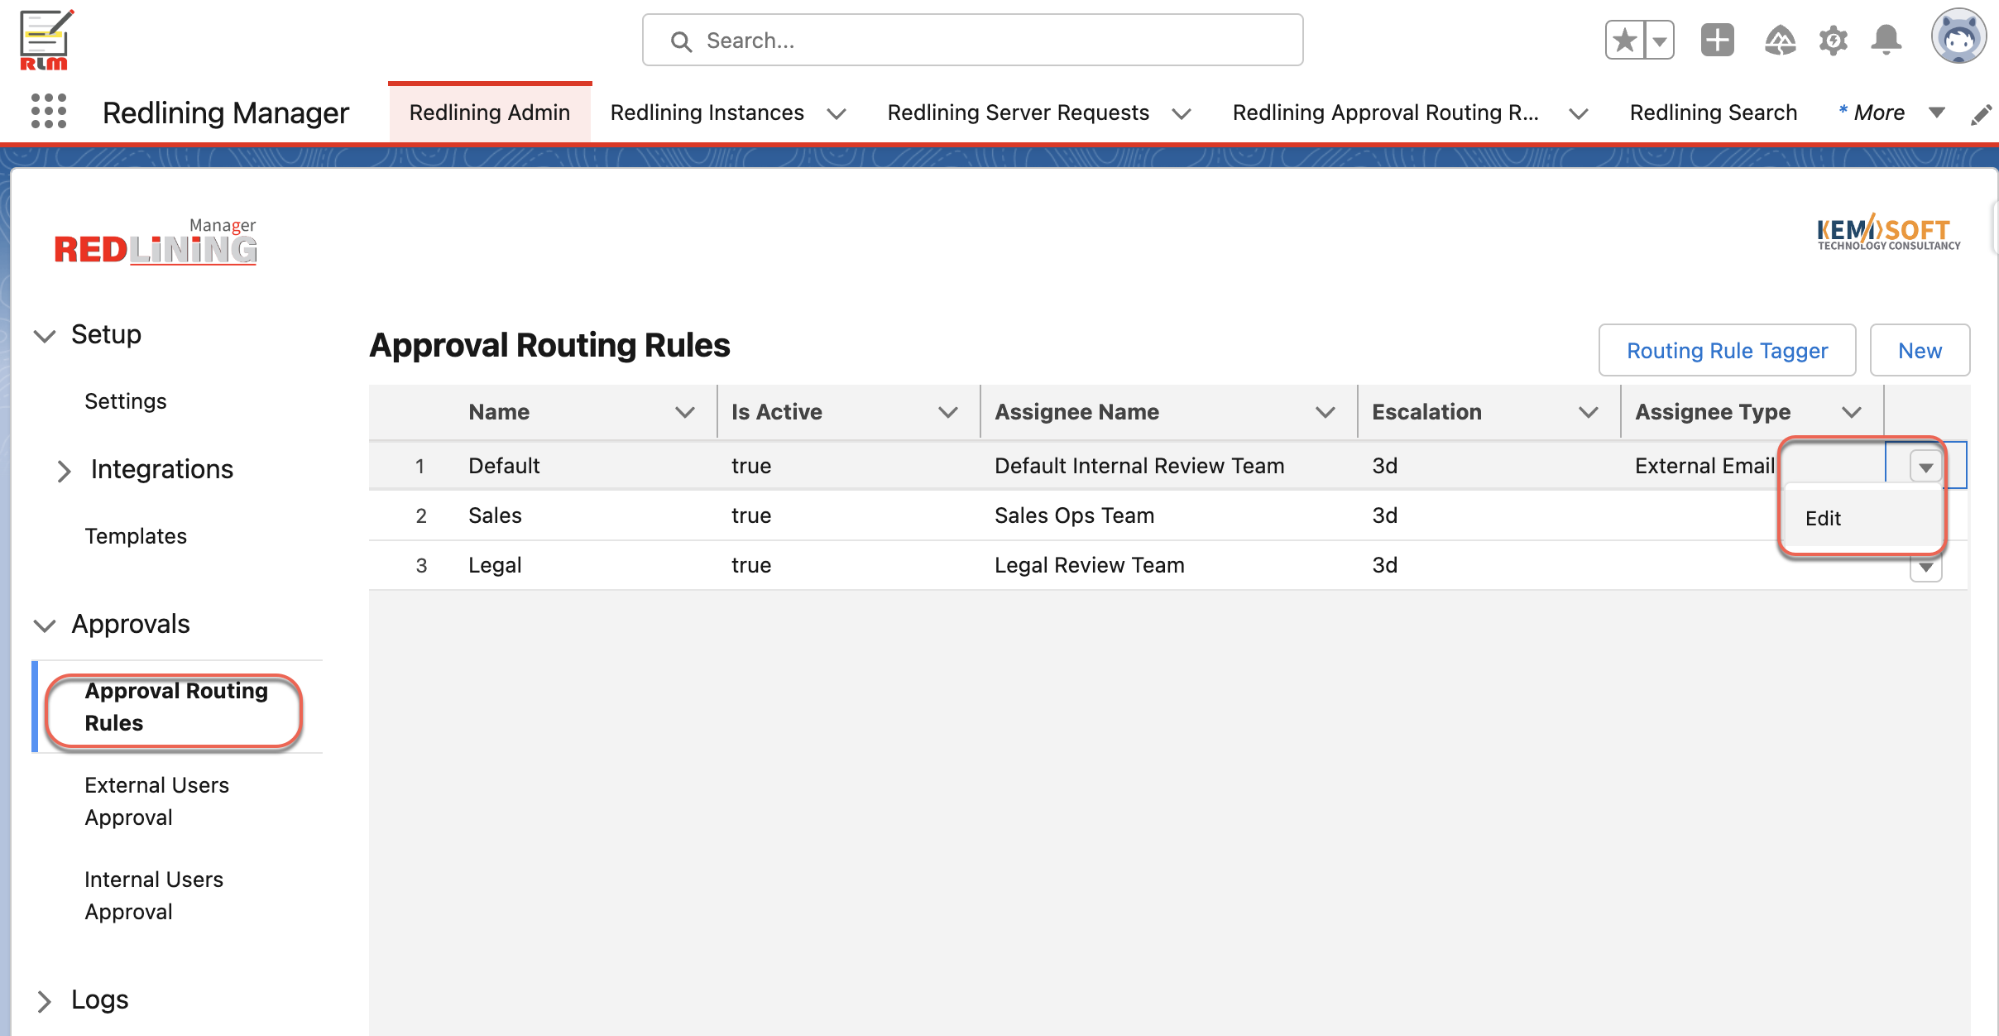
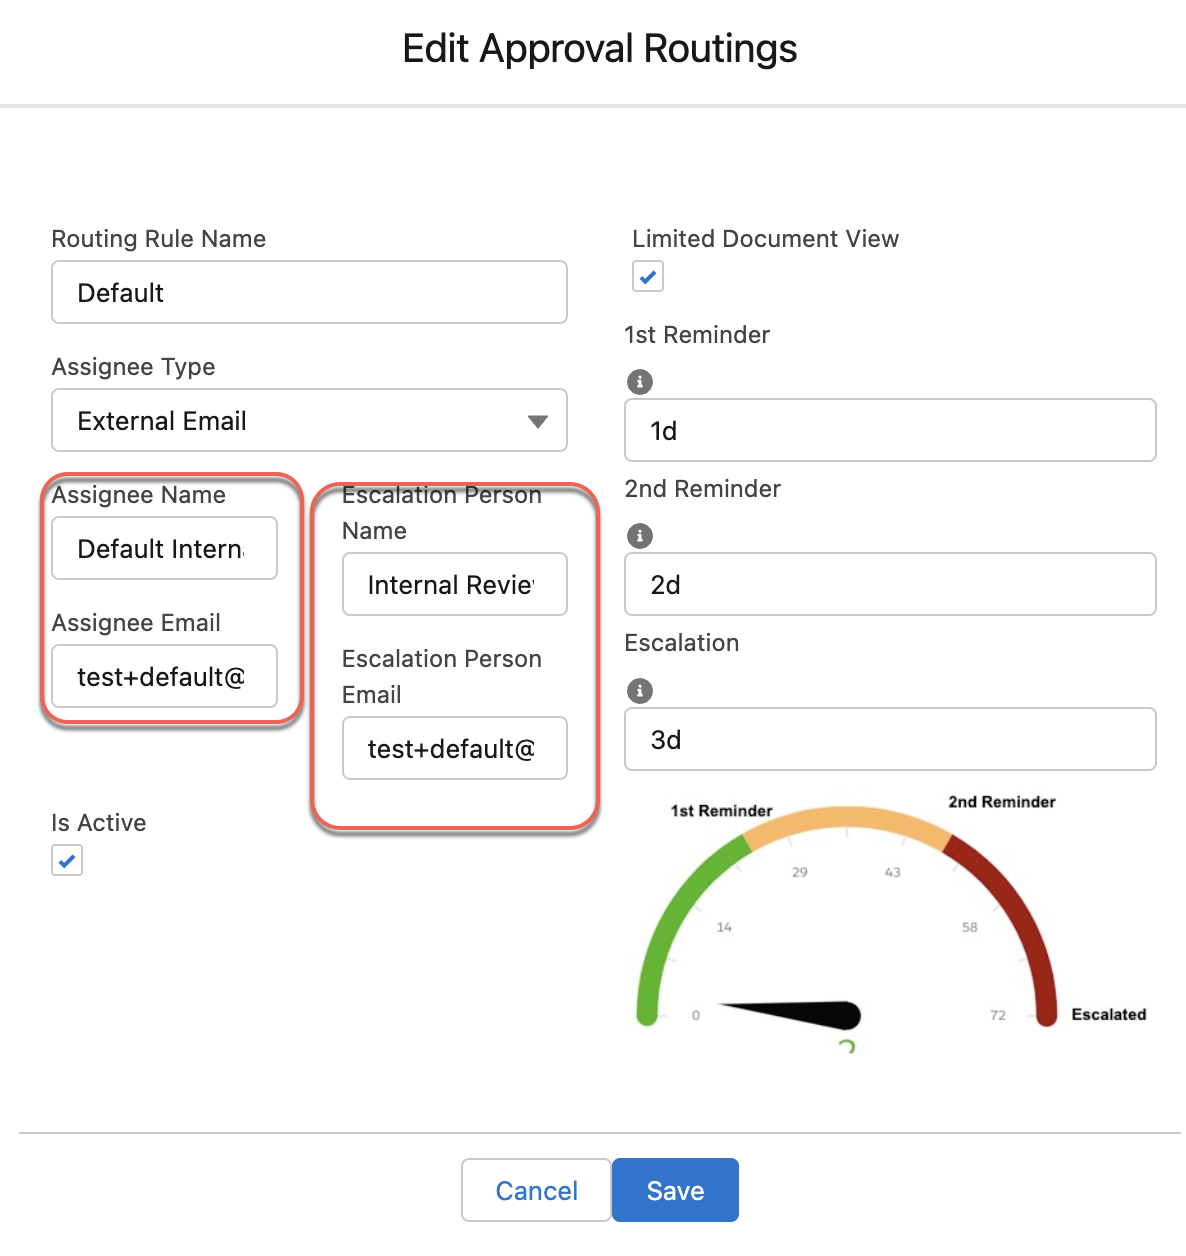
- Verify the “Default” Routing Rule, ensuring that the designated name and email address are accurate. This rule dictates the initial routing of documents for review.
Adding the RLM App to Target Object Pages: #
- The RLM component can be integrated into any Salesforce Object Page. For instance, to add it to an Opportunity Page:
- Navigate to an Opportunity Record: Open any existing Opportunity record within your Salesforce instance.
- Access Edit Page: Click on “Setup” and then select “Edit Page” to enter the Lightning App Builder.
- The RLM component can be integrated into any Salesforce Object Page. For instance, to add it to an Opportunity Page:

- Drag and Drop Component: Locate the “Redlining Manager” component in the component palette and drag it to your preferred location on the Opportunity page layout.
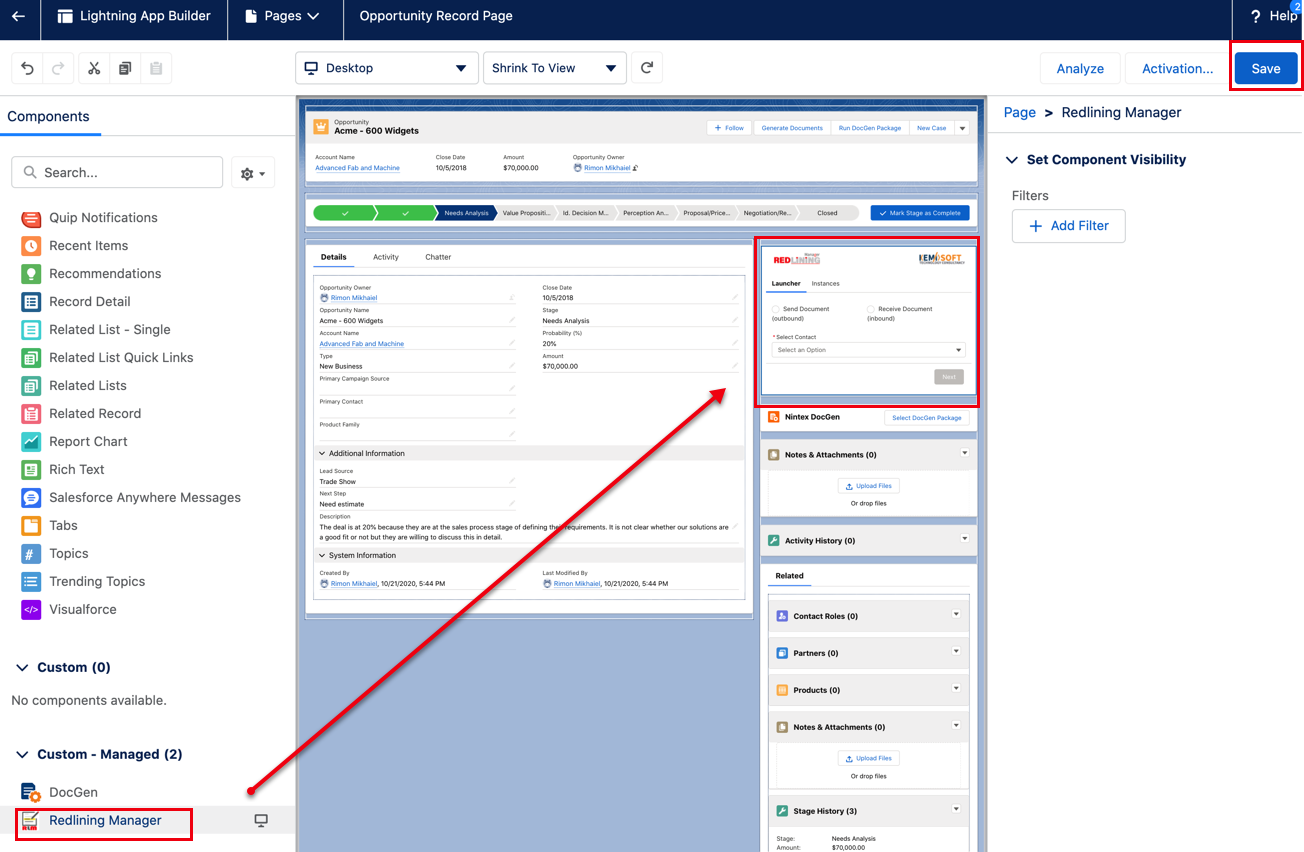
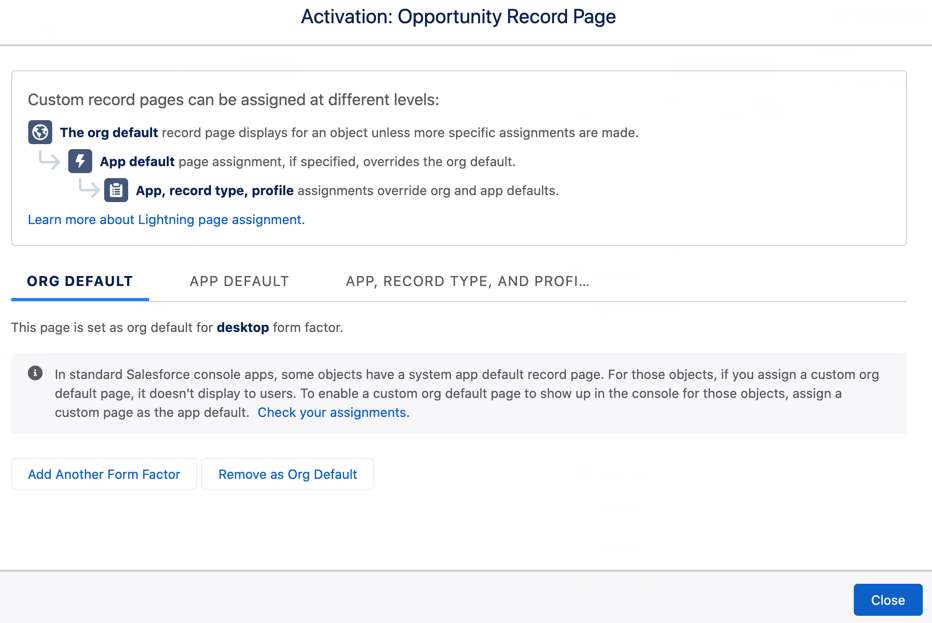
- Save and Activate: Click “Save” to preserve your changes. If this is the first modification to the page, you may be prompted to “Activate” the page. Proceed with activation to make the RLM component visible to users.
Updating Contact Email Address for Testing: #
- To facilitate testing, update the contact email address to your designated test account. This ensures that all test emails are directed to your inbox.
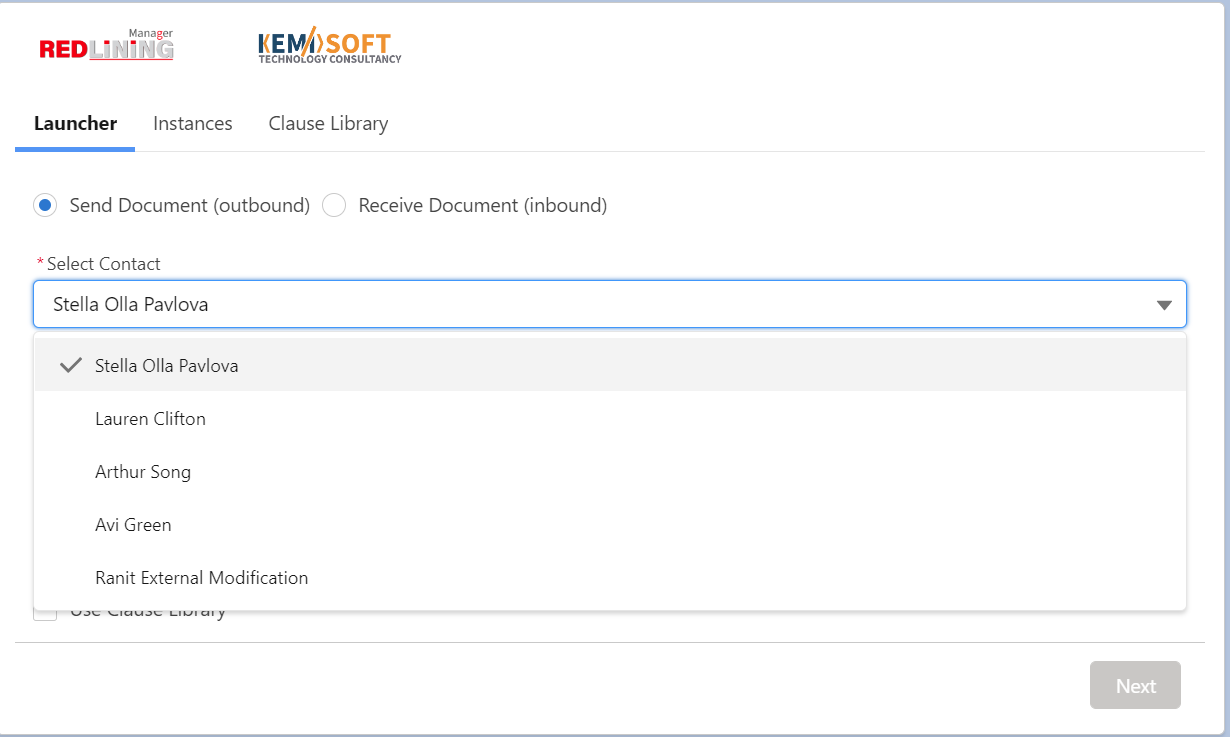
- Steps:
- In the App Launcher search box, type “Contacts” and select the “Contacts” object.
- Steps:
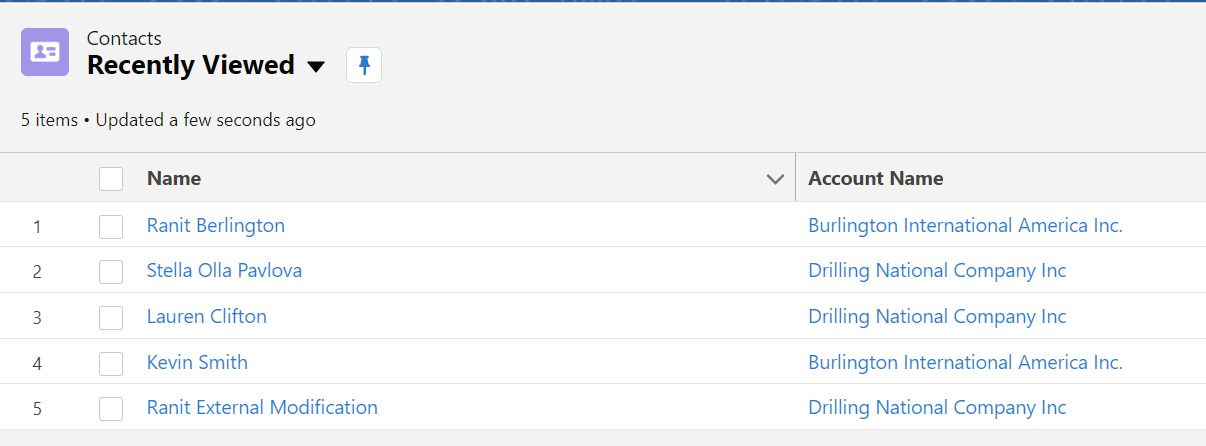
- Select your desired contact from the list.
- Navigate to the “Details” tab.
- Click on the “Edit email” field and update the email address to your test account.

- Click “Save.”
Configuring Email Deliverability: #
- Ensure that your Salesforce organization is configured to send all emails, which is essential for RLM’s email-based workflows.

- Procedure:
- Navigate to “Setup.”
- In the Quick Find box, type “Deliverability” and choose “Email -> Deliverability.”
- Confirm that the “Access Level to send email” is set to “All Email.”
- Procedure:
Congratulations! You are now ready to begin utilizing the RLM App
for your redlining and negotiation needs.


