This task guides you through initiating a basic RLM instance where a document is sent for approval and returned without any redlining.
- Initiating an RLM Instance:
- Using a test record of the object to which RLM was added in Task 1.6 (e.g., an Opportunity record), send a document generated with Drawloop to your test email address.
- Steps:
- Select an Opportunity record.
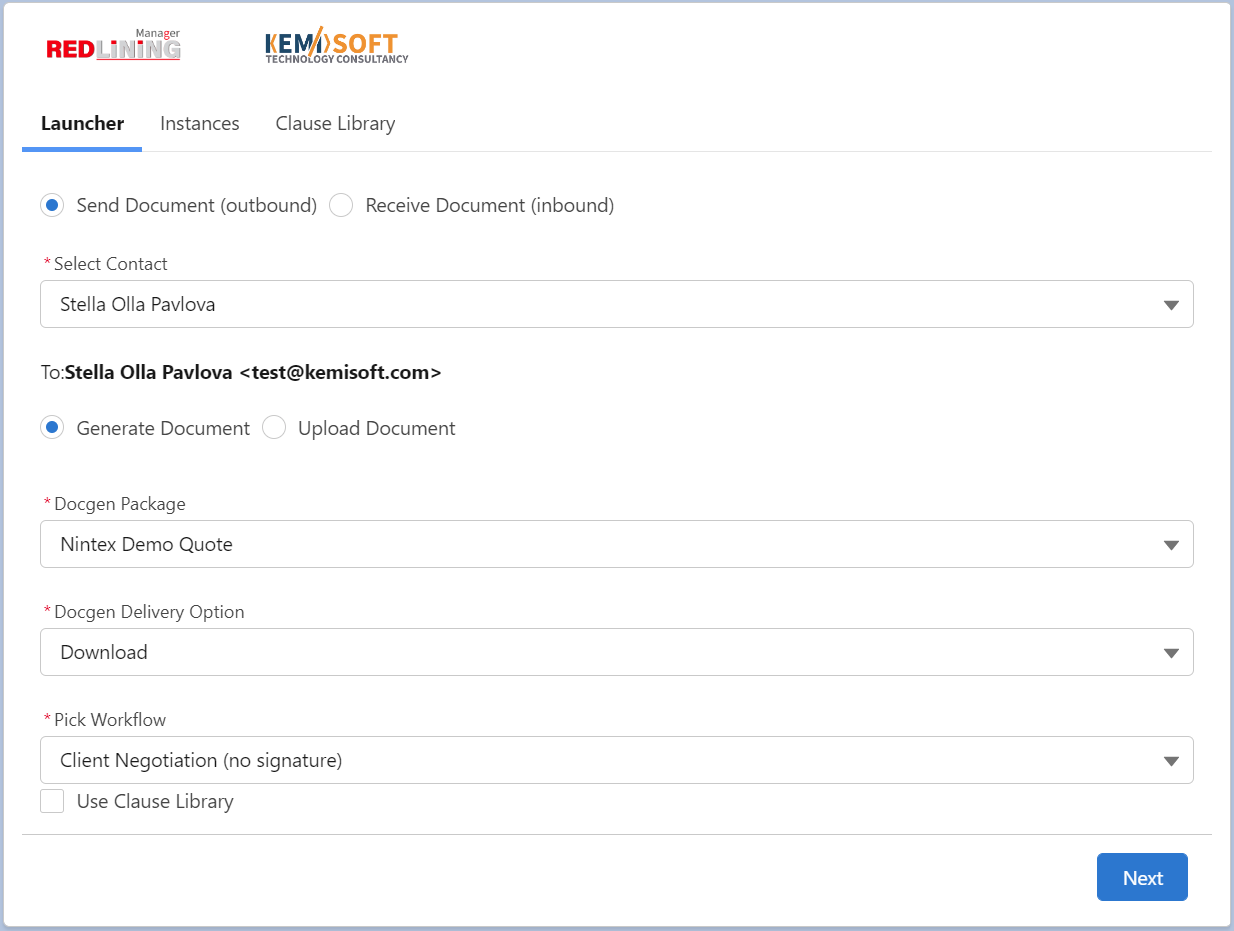
- Under the “Launcher” tab of the Redlining Manager, select:
- “Send Document (outbound)”
- Choose a contact from the picklist. This contact must have your test email address verified.
- “Generate Document”
- Select the appropriate Docgen Package.
- Select the Docgen Delivery Option.
- Choose a workflow.
- Ensure “Use Clause Library” is unchecked for this simple instance.
- Click the “Next” button.
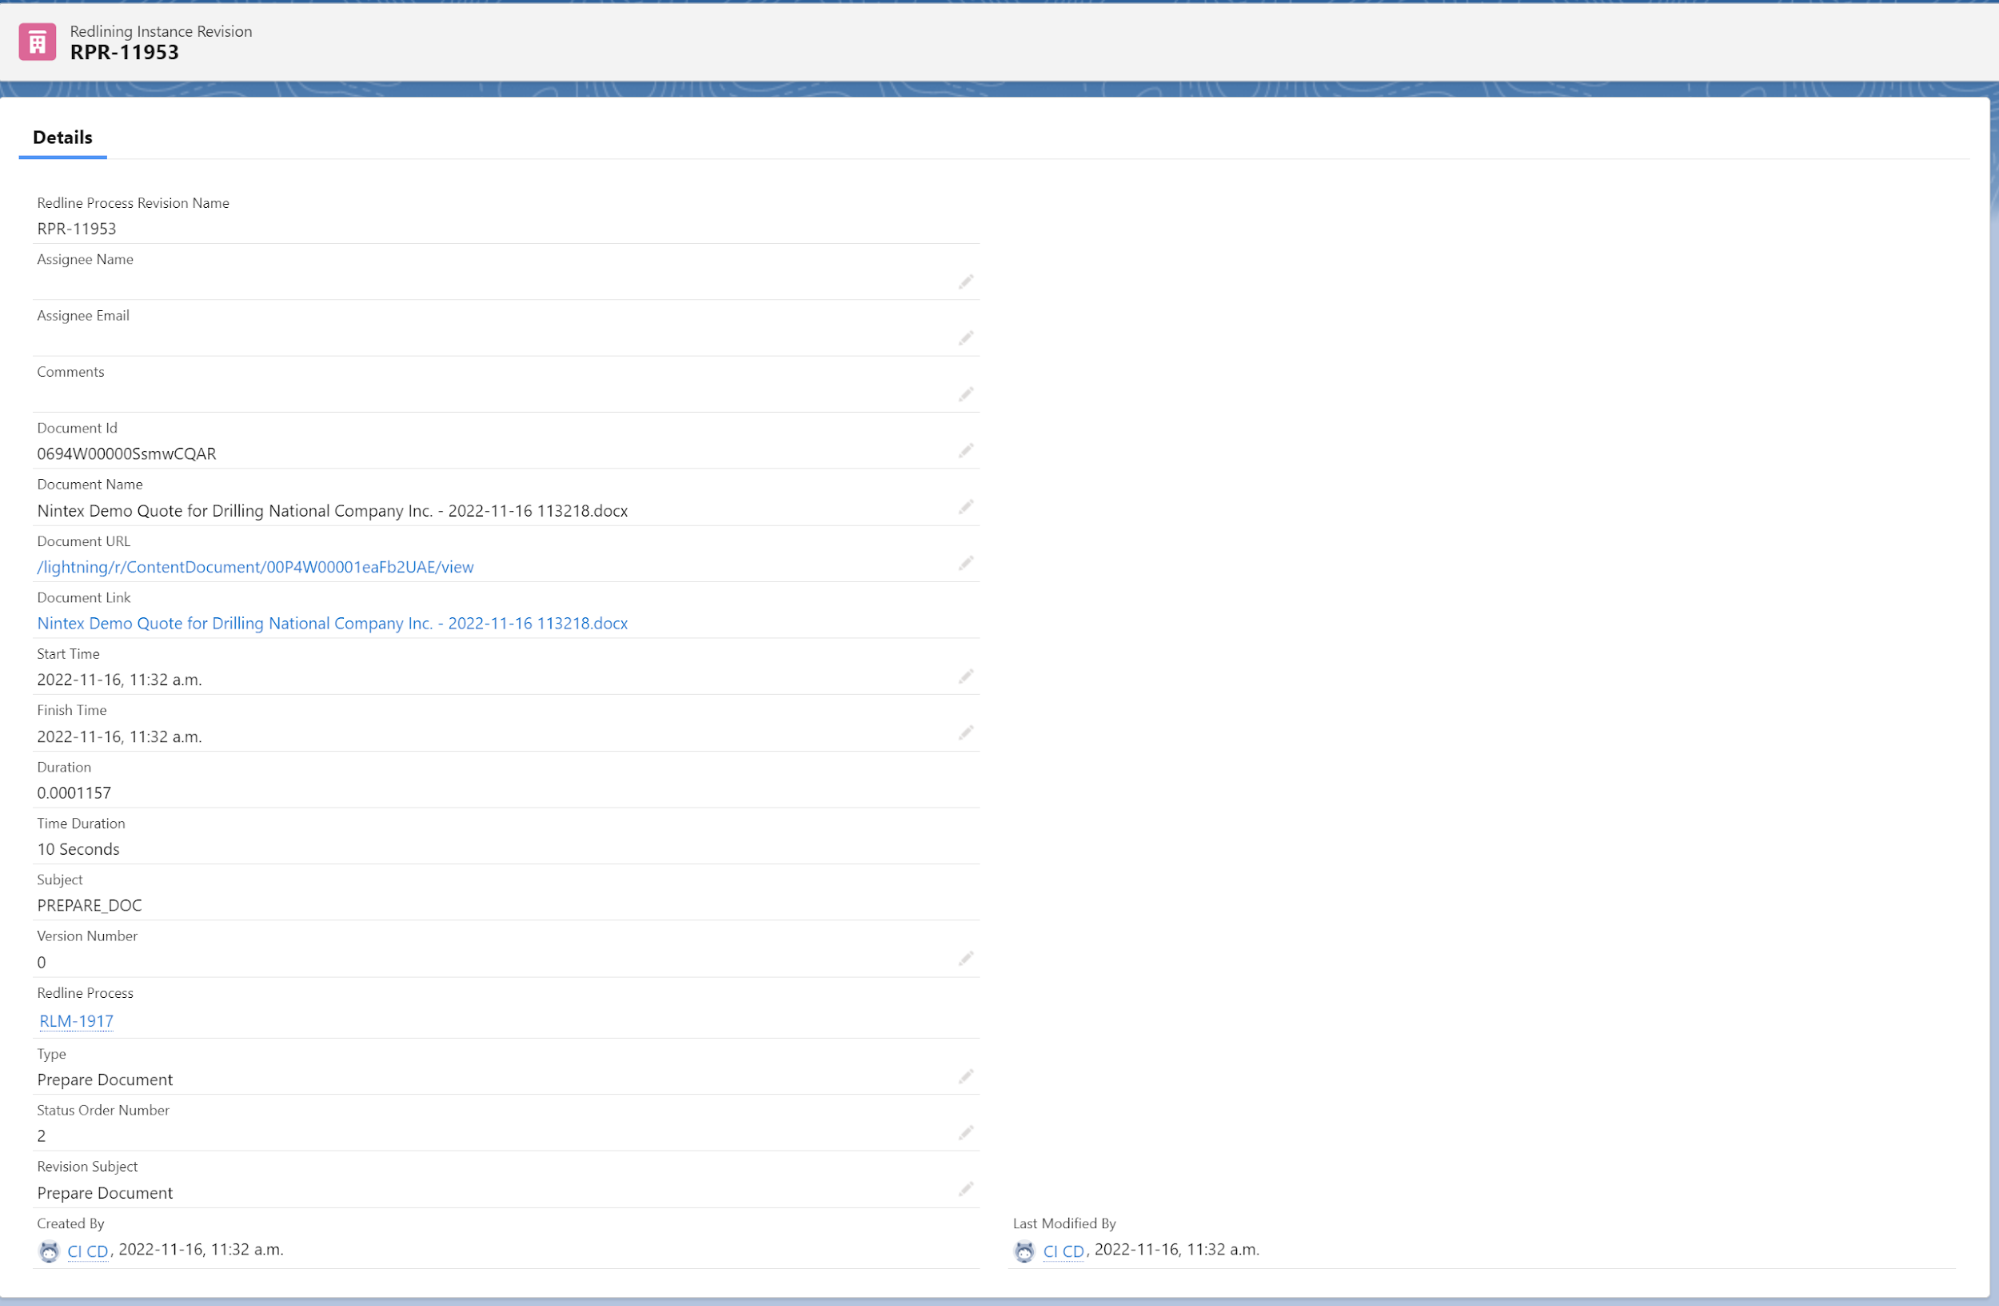
- Viewing the New Redlining Instance:
- Click on the newly created Redlining Instance (e.g., RLM-1917) to access its details.

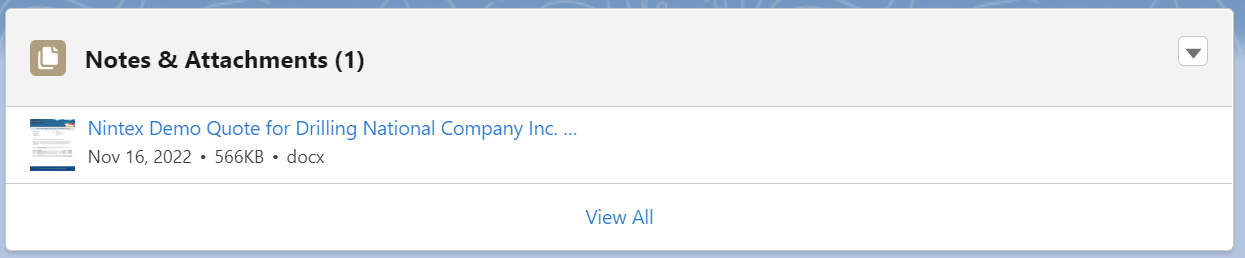
- Reviewing the Generated Document:
- From the instance window, the document generated by Drawloop can be viewed under “Notes & Attachments.”
- The document can be viewed and downloaded by clicking on the attachment.
- Understanding the Redlining Timeline:
- The timeline visually represents the different stages of the workflow. For this example, the instance progresses through “New Document,” “Prepare Document,” “Sent to Client,” and is currently “Pending Client Feedback.”

- Each timeline entry can be expanded to display more information about each revision. Clicking on an entry will show the instance’s details at that specific workflow stage.
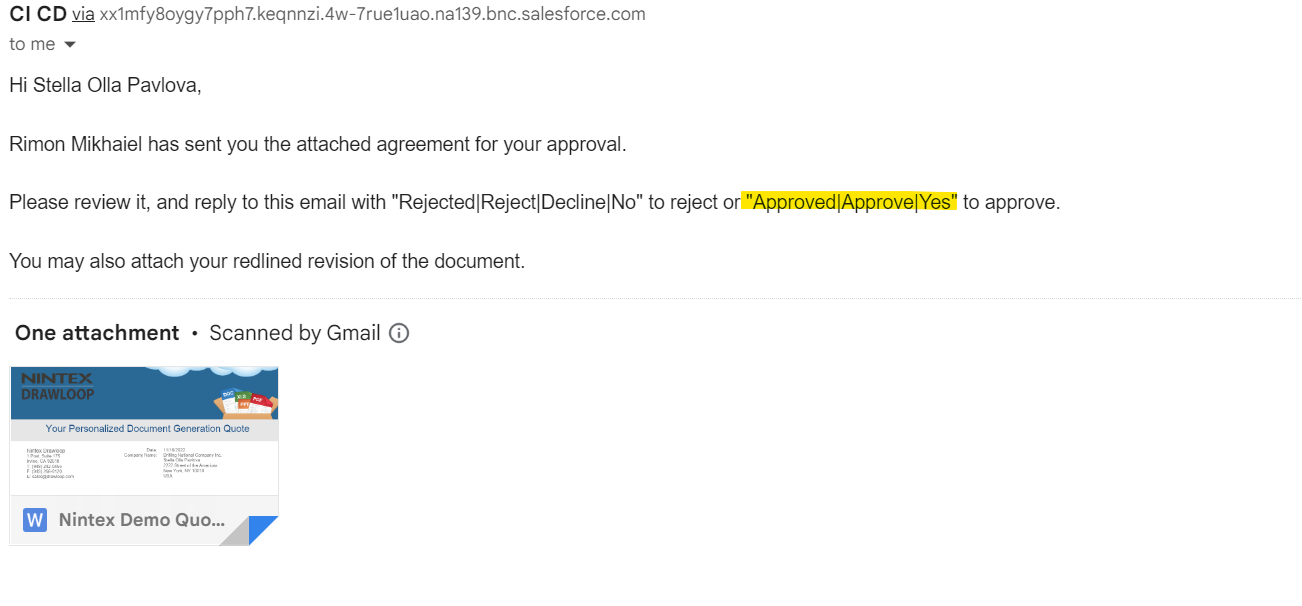
- Responding to the Email (as the Customer):
- As the simulated customer, check your inbox and download the document for review.
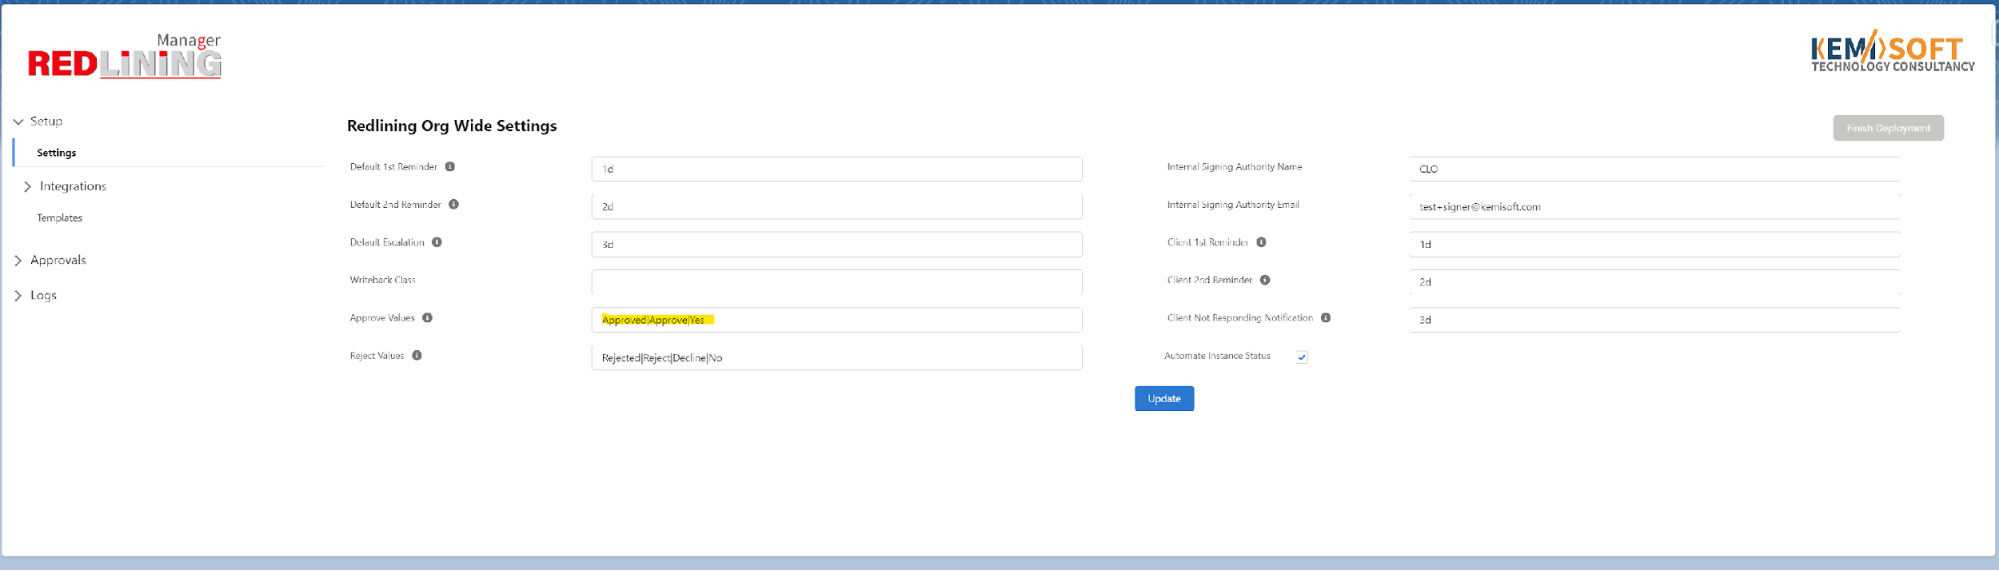
- Approval Keywords: For this task, respond with one of the approved keywords (configured via the Redlining Manager Admin tab and displayed in the email).
- Action: Respond with “Approved.” These keywords are configured via the Redlining Manager Admin tab and are displayed in the email.
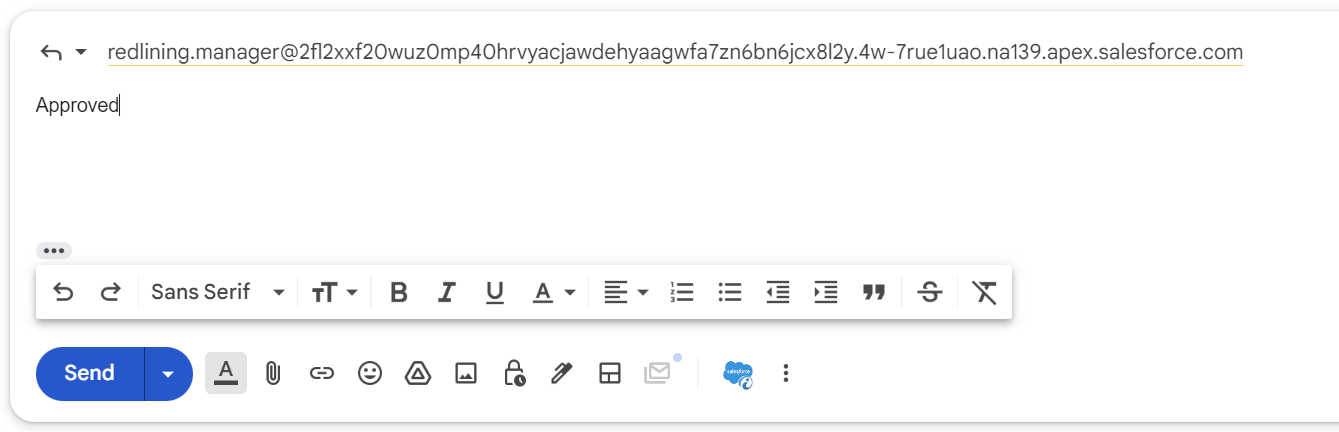
- Workflow Completion: The “Approved” response will be captured in Salesforce, completing the workflow for this redlining instance.
- Document Management: Since no changes were made and the response was approved, the document is cloned and added to the “Notes & Attachments” section.

- Instance Status: The instance will be marked as “Complete” and “Approved.”


You must be logged in to post a comment.